I remember the first time I had to build a return-to-play (RTP) plan driven by GPS data: a semi-pro outside back came in after a Grade 2 hamstring strain and everyone wanted a date. As a coach and sports scientist, I prefer a different question — "When is he ready?" — and I use GPS to answer it. Below I’ll walk you through a practical, three-week GPS-guided RTP plan for semi-pro rugby backs. This is written from my experience coaching and testing drills on the training ground, and is designed to be pragmatic, progressive and player-centred.
Why use GPS to guide hamstring RTP?
Hamstring injuries are load-related and context-specific. A player's ability to tolerate high-speed running, repeated accelerations, decelerations and contact demands determines match readiness more than isolated strength tests. GPS gives objective, session-level and cumulative load data so you can progress volume and intensity while watching for spikes that increase re-injury risk.
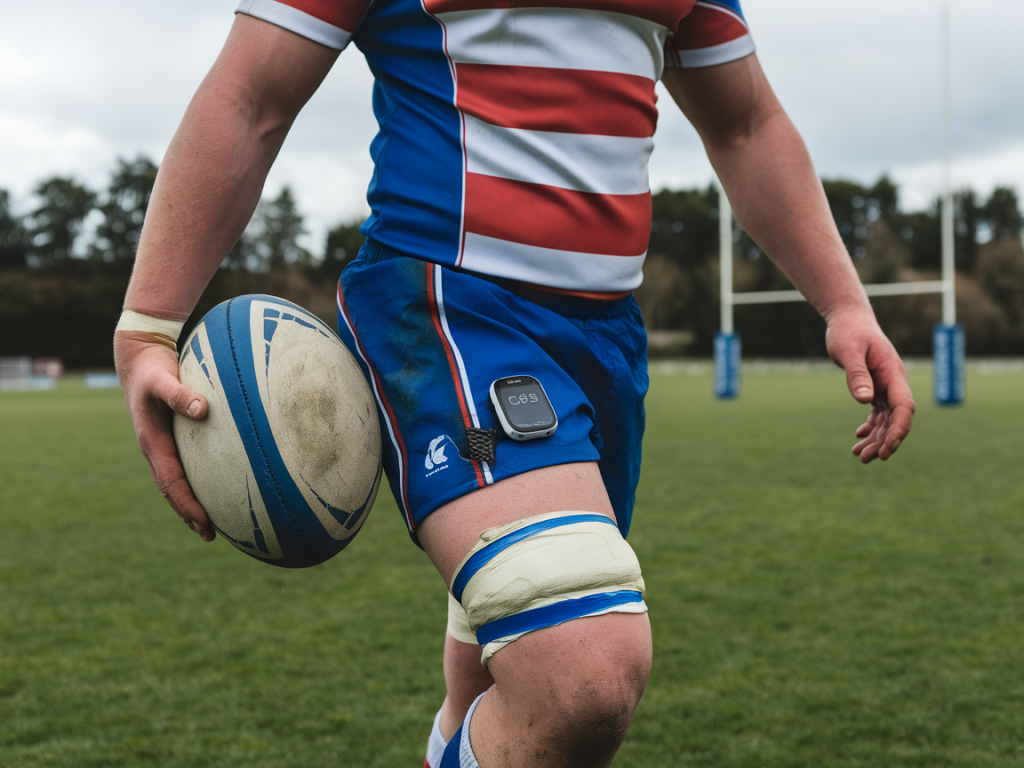
I typically use STATSports or Catapult data for metrics, but the principles work with any 10Hz+ unit that delivers the core metrics: total distance, high-speed running (HSR), sprint distance, top speed, accelerations and decelerations, and player load. If you don’t have GPS, you can still follow the progression with perceived intensity and timed sprints, but GPS makes the decisions much cleaner.
Overview of the three-week structure
This plan assumes the player is already symptom-free in daily tasks, has restored basic hamstring strength (bridge, Nordic progressions), has full pain-free range of motion and has completed clinical clearance from physio. We’re moving from controlled running and specific strength to rugby-specific high-speed efforts and contact exposure.
Each week increases sprint exposure and complexity:
- Week 1 — Reintegration: low-volume high-speed running, repeated accelerations, technique and concentric control.
- Week 2 — Build: higher sprint volume and maximal speed exposures; small-sided game loads; more change-of-direction and eccentric emphasis.
- Week 3 — Match simulation: sport-specific sprint patterns, repeated sprint bouts, contact and full training load replication.
Key GPS metrics and targets
Here are the metrics I monitor and the general targets for each week. Targets are relative to the player's pre-injury match averages (or the team average for that position if individual baseline is unavailable). I express targets as percentages of match-load values.
| Metric | Week 1 | Week 2 | Week 3 |
|---|---|---|---|
| High-Speed Running (HSR) distance (m) | 10–30% match HSR | 40–70% match HSR | 80–110% match HSR |
| Sprint distance (m, >90% max) | 1–3 maximal sprints; total 10–30% | 3–6 maximal sprints; total 40–60% | 6–10 maximal sprints; total 80–100% |
| Top speed exposure | 1–2 exposures to 90–95% | 2–3 exposures to 95–100% | 2–4 exposures at >95% including repeat sprints |
| Accelerations / Decelerations | Low volume, controlled (avoid maximal decels) | Moderate volume, include eccentric-focused decels | High volume, match-like accelerations and decelerations |
| Session PlayerLoad (relative) | 20–40% match load | 40–70% match load | 70–100% match load |
Weekly microcycle — practical session breakdown
Below is the practical blueprint I use. I treat each day as a specific stimulus: speed, strength, integration, active recovery and match simulation. Individual positions and match schedules influence which day is overloaded, but for a semi-pro outside back these templates work well.
Week 1 — Reintegration (days 1–7)
Focus: reintroduce linear speed, technique, and low-volume maximal efforts. Emphasise control in decelerations and maintain posterior chain strength.
- Day 1 — Speed mechanics + low-volume sprints: 6–8 runs of 20–30m, build to 90–95% top speed. GPS goal: 1–2 max exposures, HSR ~10–15% of match HSR.
- Day 2 — Lower-body strength (eccentric emphasis) + mobility: Nordic progressions, single-leg Romanian deadlifts, glute bridges. No high-speed running.
- Day 3 — Change-of-direction at submax speed + reactivity drills: 6–8 x 10–15m COD at 70–80% max. GPS goal: low accelerations/decelerations.
- Day 4 — Active recovery: bike or pool, light movement, neuromuscular control; monitor soreness.
- Day 5 — Tempo runs (submax) + short repeated accelerations: 8–10 x 60–80m at 70–80% effort; include 3 x 40m at 90% separated by long rest. GPS goal: playerload 20–40% match.
- Day 6 — Strength & technique: hip hinge patterns, single-leg work, landing control, sprint drills.
- Day 7 — Rest or light mobility.
Week 2 — Build (days 8–14)
Focus: increase sprint volume and intensity, introduce small sided games to get sport-specific load, more eccentric load in decelerations.
- Day 8 — Speed session: 6 x 30–40m with 90–100% efforts; include flying 20m runs. GPS: increase sprint distance to 40–60% match HSR.
- Day 9 — Strength session: heavier eccentrics (Nordic reps 3x5–6), Romanian deadlifts, split squats.
- Day 10 — Small-sided games (3v3/5v5) with controlled durations to progress accelerations and contact avoidance initially. GPS: moderate accelerations, HSR 40% target.
- Day 11 — Recovery / mobility / activation.
- Day 12 — Repeat sprint ability (RSA) work: 6–8 x 30m with 20–30s rest at ~95–100% efforts; include one longer run of 60m at maximal speed. GPS: top speed exposures 2–3 times.
- Day 13 — Technical session + low-intensity contact drills, controlled tackling impact to assess readiness for contact.
- Day 14 — Rest or light aerobic maintenance.
Week 3 — Match simulation (days 15–21)
Focus: replicate match demands, goal is 80–100% of positional match GPS metrics across a training week, include full contact and team-run intensity.
- Day 15 — High-intensity speed session: 8–10 sprints 40–60m, with repeat exposures; include shuttle sprints to tax decels. GPS: HSR 70–90% match.
- Day 16 — Full team training: positional runs, patterns, phased contact, live play. GPS: session playerload 70–90% match.
- Day 17 — Recovery and specific physio checks; mobility and neural activation.
- Day 18 — Simulated match day: full 70–80 minute training match or two 30–40 minute halves of full intensity. GPS: aim to meet or exceed match HSR and sprint counts.
- Day 19 — Active recovery with low impact; monitor soreness and GPS acute load.
- Day 20 — Light top-up session: short speed and positional cues, ensure neuromuscular freshness.
- Day 21 — Game day or return to full selection if all metrics and clinician signs are green.
How I use GPS data day-to-day
Two practical rules I follow:
- Rule 1: Avoid spikes. Acute load should not jump more than ~10–20% day-to-day relative to the previous 7-day mean. If playerload or HSR jumps by >30% without preparation, back off.
- Rule 2: Use both absolute and relative metrics. Absolute sprint exposures matter, but relative measures (percent of player max speed, % of match HSR) guide readiness.
Before clearing to full team training I check:
- Two consecutive sessions with target HSR and sprint numbers reached without pain increase.
- Top speed exposures equal to pre-injury values or within 95–100% of player's max speed.
- Good eccentric capacity in the hamstring (Nordic strength improvements, single-leg RDL control).
- No abnormal asymmetry in GPS metrics (e.g., one-sided deceleration/loading that could indicate compensation).
Red flags and when to pause
Be cautious if any of the following occur:
- Sharp pain during a maximal sprint or deceleration.
- Rapid increase in soreness or decreased sprint velocity across sessions.
- Asymmetry in step length, top speed or accelerations greater than typical baselines.
- GPS shows repeat spikes in playerload or HSR without recovery.
If a red flag appears, drop intensity by one phase and re-assess with the physio. Often that means backing out to submax efforts, increasing eccentric loading and reassessing neuromuscular control before attempting maximal sprints again.
Practical tips and tools
Some practical items I use on the ground:
- GPS vest (STATSports or Catapult) for consistent metrics.
- Radar or speed gates for occasional top speed verification (affordable radar guns like Bushnell are useful).
- Video for sprint technique analysis — often the simplest way to spot subtle compensation.
- Communication with physio after every high-speed session — quick joint clinical checks reduce risk.
Hamstring strains are complex, but a structured, GPS-guided approach lets you progress with confidence rather than guesswork. The three-week template above is a roadmap — adapt volumes and timelines to the individual, the injury grade and the match schedule. If you want, I can convert this into a printable week-by-week chart for a specific player using their baseline GPS match data.