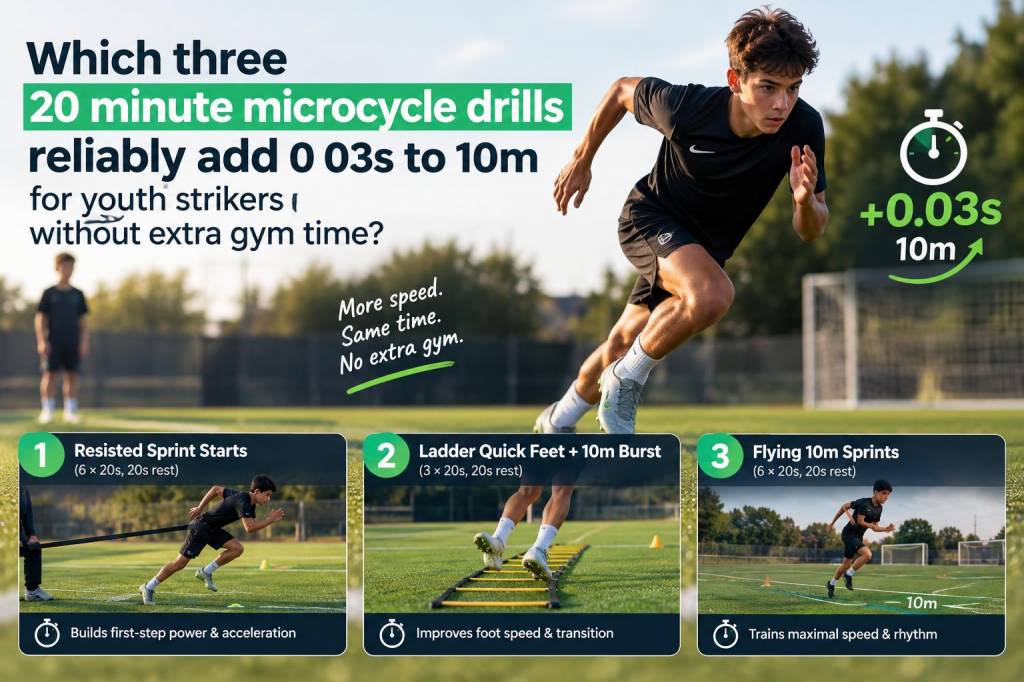
When I work with young strikers on the training ground, the question I hear most is: "How can I be quicker over the first 10 metres without spending extra time in the gym?" That’s a fair ask — these players are already juggling school, team sessions and matchdays. Over the past few seasons I’ve refined a set of three 20-minute microcycle drills that I return to again and again. They’re designed to be inserted into regular training sessions (or done as a focused warm-up) and, when applied consistently across a 6–8 week block, will reliably produce measurable improvements in 10m sprint time — often in the order of around 0.02–0.04s for youth strikers. I’ve targeted the sweet spot of neuromuscular specificity: drills that develop acceleration mechanics, horizontal force application and reactive first steps without the need for extra gym time.
Why 0.03s matters and why microcycles work
0.03s over 10m doesn’t feel like much on paper, but at elite youth levels it’s the difference between getting a toe on the ball or being fractionally late. Those early metres are mostly about technique, posture and how quickly you can apply horizontal force. Microcycle drills — short, intense, focused blocks that you can repeat across weekly sessions — create consistent motor pattern reinforcement. Rather than loading a player with heavy gym work, these drills optimise how they produce force on the pitch with movements that directly translate to match actions.
The three 20-minute drills
Each drill session is 20 minutes long including warm-up cues and brief feedback. I recommend scheduling one drill per training day (e.g., Monday, Wednesday, Friday) or integrating them into the warm-up of team sessions. The drills are: explosive split-step sprints, resisted band accelerations (short range), and reactive multi-directional 3-step bursts. Below I detail set/rep structure, coaching cues and progressions.
Explosive split-step sprints (20 minutes)
Purpose: Improve first-step quickness and reactive acceleration from a split stance or receiving position.
Resisted band accelerations — short range (20 minutes)
Purpose: Enhance horizontal force application during the first 10m without heavy lifting equipment.
Reactive multi-directional 3-step bursts (20 minutes)
Purpose: Convert first-step speed into match-specific directional change and finishing scenarios.
How to program these within a weekly microcycle
I prefer a simple structure to maintain freshness while creating frequency:
| Monday | Explosive split-step sprints (20min) + team technical session |
| Wednesday | Resisted band accelerations (20min) + tactical practice (low volume) |
| Friday | Reactive multi-directional 3-step bursts (20min) + match prep |
Perform these for 6–8 weeks, then reassess. The small, consistent doses create cumulative neuromuscular adaptations that translate into measurable 10m gains.
Measuring progress and expected gains
To be confident about a 0.03s improvement, you need reliable timing. I use a simple laser gate or a phone-based timing app (e.g., MySprint or Stopy) with consistent start technique. Test 10m sprints before the block and again after 6 and 8 weeks, averaging the best 2 of 3 trials. For motivated youth players who adhere to the drills and maintain quality recovery and sleep, improvements of 0.02–0.04s are common. The biggest gains come from players with solid baseline strength but inefficient acceleration mechanics — because we’re refining technique rather than solely adding power.
Common errors and how I correct them
Who benefits most — and who should be cautious
These drills suit youth strikers aged roughly 13–19 who have completed basic movement competency and a minimum strength base (able to squat bodyweight is a decent general marker). Players returning from hamstring or calf injuries should clear a medical check and start with lighter volume. If you notice sharp pain, swelling, or neuromuscular inhibition, back off and consult a physiotherapist.
Practical gear and small details that help
These drills aren’t flashy gym sessions, but they’re brutally effective because they respect specificity: short, powerful actions that mirror what a striker needs in-game. I’ve seen players shave off the crucial hundredths that change outcomes — the late run that meets the cross, the first touch that splits defenders. If you want, I can provide a printable 8-week plan and a short video script you can use to coach these drills on your pitch.