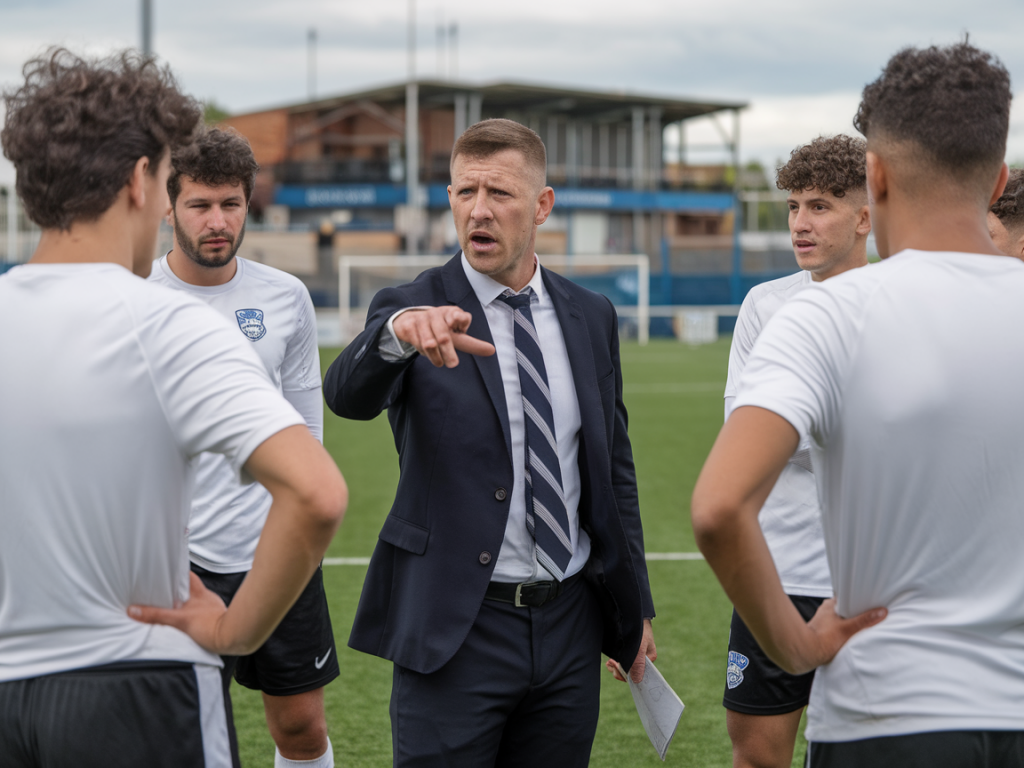
Coaching pressing on a tight time budget is something I do all the time with Saturday teams and youth sides. You don’t need a full fortnight of sessions to install game-changing behaviours — you need clear triggers, simple rules and plenty of repetition under realistic constraints. Below I’ll walk you through how I coach three pressing triggers in a 20-minute pitch session that regularly forces turnovers in lower-league matches. This is practical, drill-first work: quick to teach, easy to remember, and built to be transferred to 11v11 games.
Why pressing triggers, not a pressing system?
I’ve learned that most players in lower leagues can’t memorise complex pressing maps or execute nuanced rotations under fatigue. What they can do is react to a small set of reliable cues — triggers — that tell them when to press, who presses, and where to cover. Triggers reduce decision-making time and create coordinated actions that strangle the opponent’s rhythm.
In this session I focus on three triggers that have the biggest impact: the back-pass trigger, the side-pass trigger and the forced-touch trigger. Each is easy to spot and produces predictable defensive advantages when applied consistently.
Session overview (20 minutes)
This micro-session uses a 20x30m grid (adjust scale based on your players) and three short drills of ~6 minutes each, with quick transitions. I end with a 2-3 minute conditioned scrimmage to test the behaviours. Everything is repeatable and scalable. Bring cones, bibs and a stopwatch.
| Phase | Duration | Focus |
|---|---|---|
| Warm-up + explanation | 2 minutes | Introduce triggers & roles |
| Drill 1: Back-pass trigger | 6 minutes | Immediate press on goalkeeper/back-pass |
| Drill 2: Side-pass trigger | 6 minutes | Channel pressure to force wide turnovers |
| Drill 3: Forced-touch trigger | 6 minutes | Exploit heavy touches and poor body position |
| Conditioned scrimmage | 2–3 minutes | Apply all triggers in match-like play |
How I introduce the session (first 2 minutes)
I start by telling players the goal: “We want three moments that tell us to press NOW. If you see one, act instantly. If you act with two or three teammates, we win the ball.” Then I demonstrate each trigger with two players while the rest watch for 20–30 seconds. Keep it visual and energetic — players latch on to clear, simple cues quicker than long explanations.
Drill 1 — Back-pass trigger (6 minutes)
Objective: Force the goalkeeper or a defender to make a hurried distribution by immediately pressuring any back-pass. This produces low-risk turnover opportunities high up the pitch.
Set-up:
Rules & coaching points:
Progression after 3 minutes: Add a neutral player behind the GK as a free outlet to increase the GK’s passing options — the pressing team must now show how to close different outlets quickly.
Drill 2 — Side-pass trigger (6 minutes)
Objective: Use the moment a ball is passed into the flank (channel) as a trigger to compress the play and trap the receiver against the sideline.
Set-up:
Rules & coaching points:
Progression: Allow full-width crosses for offensive reward if defenders fail to force a turnover, creating pressure to be sharp. Reward defenders with a point system for turnovers to keep intensity high.
Drill 3 — Forced-touch trigger (6 minutes)
Objective: Capitalise on heavy or poor first touches by pressuring the receiver immediately to force errors or dispossessions.
Set-up:
Rules & coaching points:
Progression: Limit attacker touches to two to force more heavy first touches and increase turnover frequency.
Conditioned scrimmage and coaching cues (2–3 minutes)
Finish with a short conditioned game. Reward any team that wins possession high up the pitch with an extra point or immediate goal-scoring window. The scrimmage should be fast — stop and brief coach between plays to reinforce trigger recognition:
Use simple feedback: praise correct triggers immediately and show one quick corrective point when players miss them. Repetition and positive reinforcement matter more than long tactical lectures.
Transfer to matchday
After the session, give players three clear reminders to take onto the pitch: 1) identify the trigger; 2) act quickly and in numbers; 3) stay disciplined with angles and cover. I also give players small, memorable phrases to use on the pitch — for example, “BACK!” for back-pass, “SIDE!” for flanks, and “TOUCH!” for forced-touch — which helps create coordinated responses without overtalking.
On matchday I position pressing-prone players where they can see more of the opponent’s buildup (inside forwards, aggressive full-backs, or midfield shuttlers) and ask the goalkeeper and centre-backs to be conscious of the back-pass vulnerability. Pressing works best when the whole unit understands the trigger hierarchy and supports it.
If you want drills to take to your next session, I keep printable cone layouts and cue cards on Samsophsaints Co — visit https://www.samsophsaints.co.uk for downloadable session plans and diagrams that match this micro-session. Try this 20-minute routine twice a week and you’ll be surprised how often your team starts winning possession higher up the field.