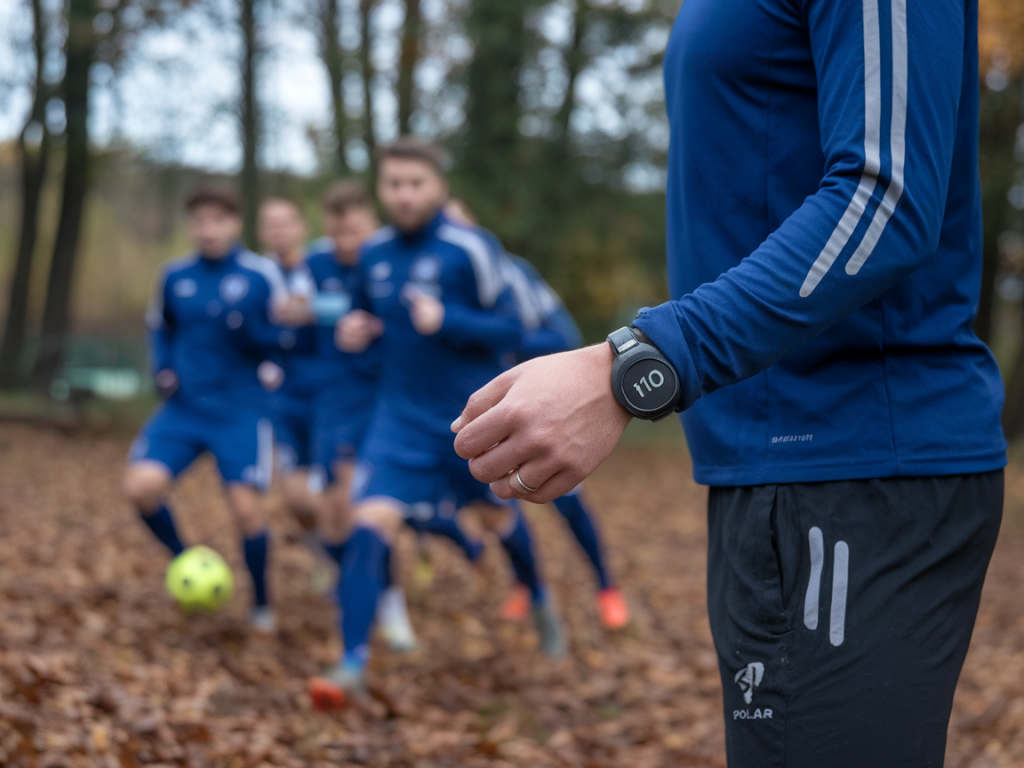
I first started using the Polar H10 chest strap with a semi-pro rugby side three seasons ago when I realised GPS load data alone wasn’t telling the full story. Heart rate gives you immediate insight into the athlete’s internal load — how their body is responding to training — which is exactly what you need to spot the early signs of overtraining. In this piece I’ll walk you through how I use the Polar H10 to define heart-rate zones, design sessions, monitor players across a week, and spot the subtle signals that tell you to back off.
Why the Polar H10?
The Polar H10 remains my go-to because of its reliability and accuracy. It uses a chest strap sensor (still the gold standard compared to wrist-based HR) and connects seamlessly to apps and training platforms via Bluetooth and ANT+. That matters when you want real-time group monitoring on a tablet at pitchside and post-session exports for analysis. It’s also comfortable enough for repeated use across a week, which is vital for longitudinal monitoring.
Setting up accurate heart-rate zones
Before you can use HR zones to prevent overtraining you must set them correctly. I use a two-step approach:
I log these in the team’s profile and sync them to the Polar Flow app and our coaching dashboard so every player’s session data maps to their individualized bands.
How I use zones to design sessions
Heart-rate zones shouldn’t replace RPE, GPS or subjective checklists — they complement them. Here’s how I structure training microcycles using HR zones to reduce overtraining risk:
Monitoring across the microcycle
What I’ve learned is that trends matter more than single-session peaks. I monitor:
Using the Polar H10 with Polar Flow or third-party platforms gives me quick exports showing these trends. I look for deviations from each player’s baseline rather than absolute thresholds.
Simple monitoring protocols I use
Here are practical checks you can run that give clear decision points:
What to do when numbers show fatigue
Numbers don’t make decisions — coaches do. But they inform sensible actions. If I see consistent high resting HR, depressed HRV, more time than planned in Zone 4–5, and increased HR drift, I use a stepped return:
Common pitfalls and how to avoid them
Don’t fall into these traps:
Example weekly template (semi-pro match week)
| Day | Focus | Target HR zones (majority) | Coach action |
|---|---|---|---|
| Monday | Recovery / regeneration | Zone 1 | Low-load session, monitor resting HR |
| Tuesday | High-intensity / tactical | Zone 3–4 (controlled bursts) | Limit Zone 5 minutes; check HR drift |
| Wednesday | Skills & conditioning | Zone 2–3 | Monitor time-in-zone; back off if elevated resting HR |
| Thursday | Match prep (low load) | Zone 1–2 | Keep sessions short and sharp |
| Friday | Pre-match activation | Zone 1–2 (brief Zone 3) | Individualise for starters/subs |
| Saturday | Match | Variable (match demands) | Post-match monitoring for recovery planning |
| Sunday | Active recovery / rest | Zone 1 | Assess readiness for next week |
Practical tips for implementation
Small details make the system usable in a semi-pro environment:
Using the Polar H10 as part of a wider monitoring system has helped me catch overtraining trends before they become injuries or dips in form. It’s not a magic wand — but combined with clear protocols, player buy-in and practical decision rules, it’s one of the most effective tools a semi-pro coaching setup can use to keep players available and performing.